Learn every PixOne image and video tool, choose the right workflow, use Smart Select, and build better AI results progressively from still image to final video.
PixOne Team12 min read
PixOne is designed as a creative workflow, not a one-shot prompt box. Its tools let you edit and combine still images, generate motion, transfer a real performance, modify video, extend time, and upscale the finished clip. This guide explains what each tool does and links to a focused tutorial for every workflow.
The most important advice: create progressively
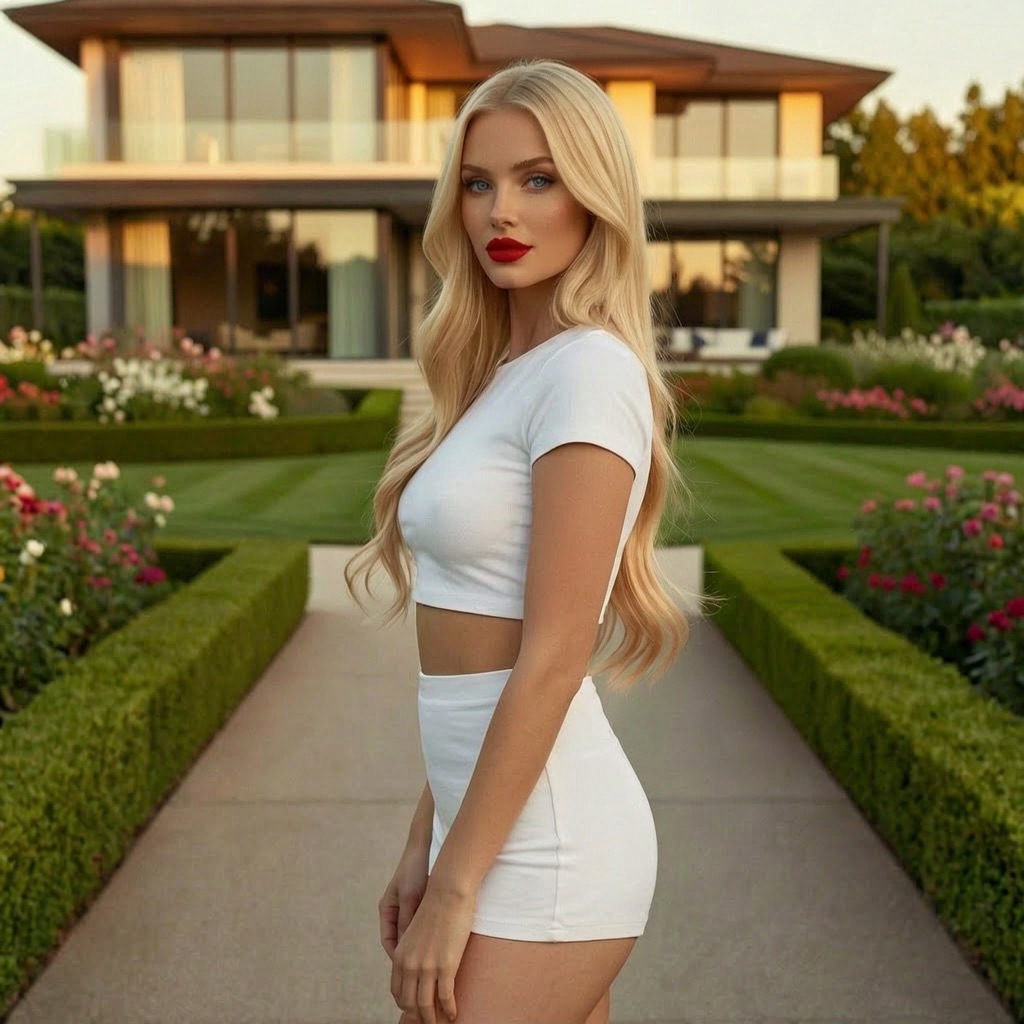
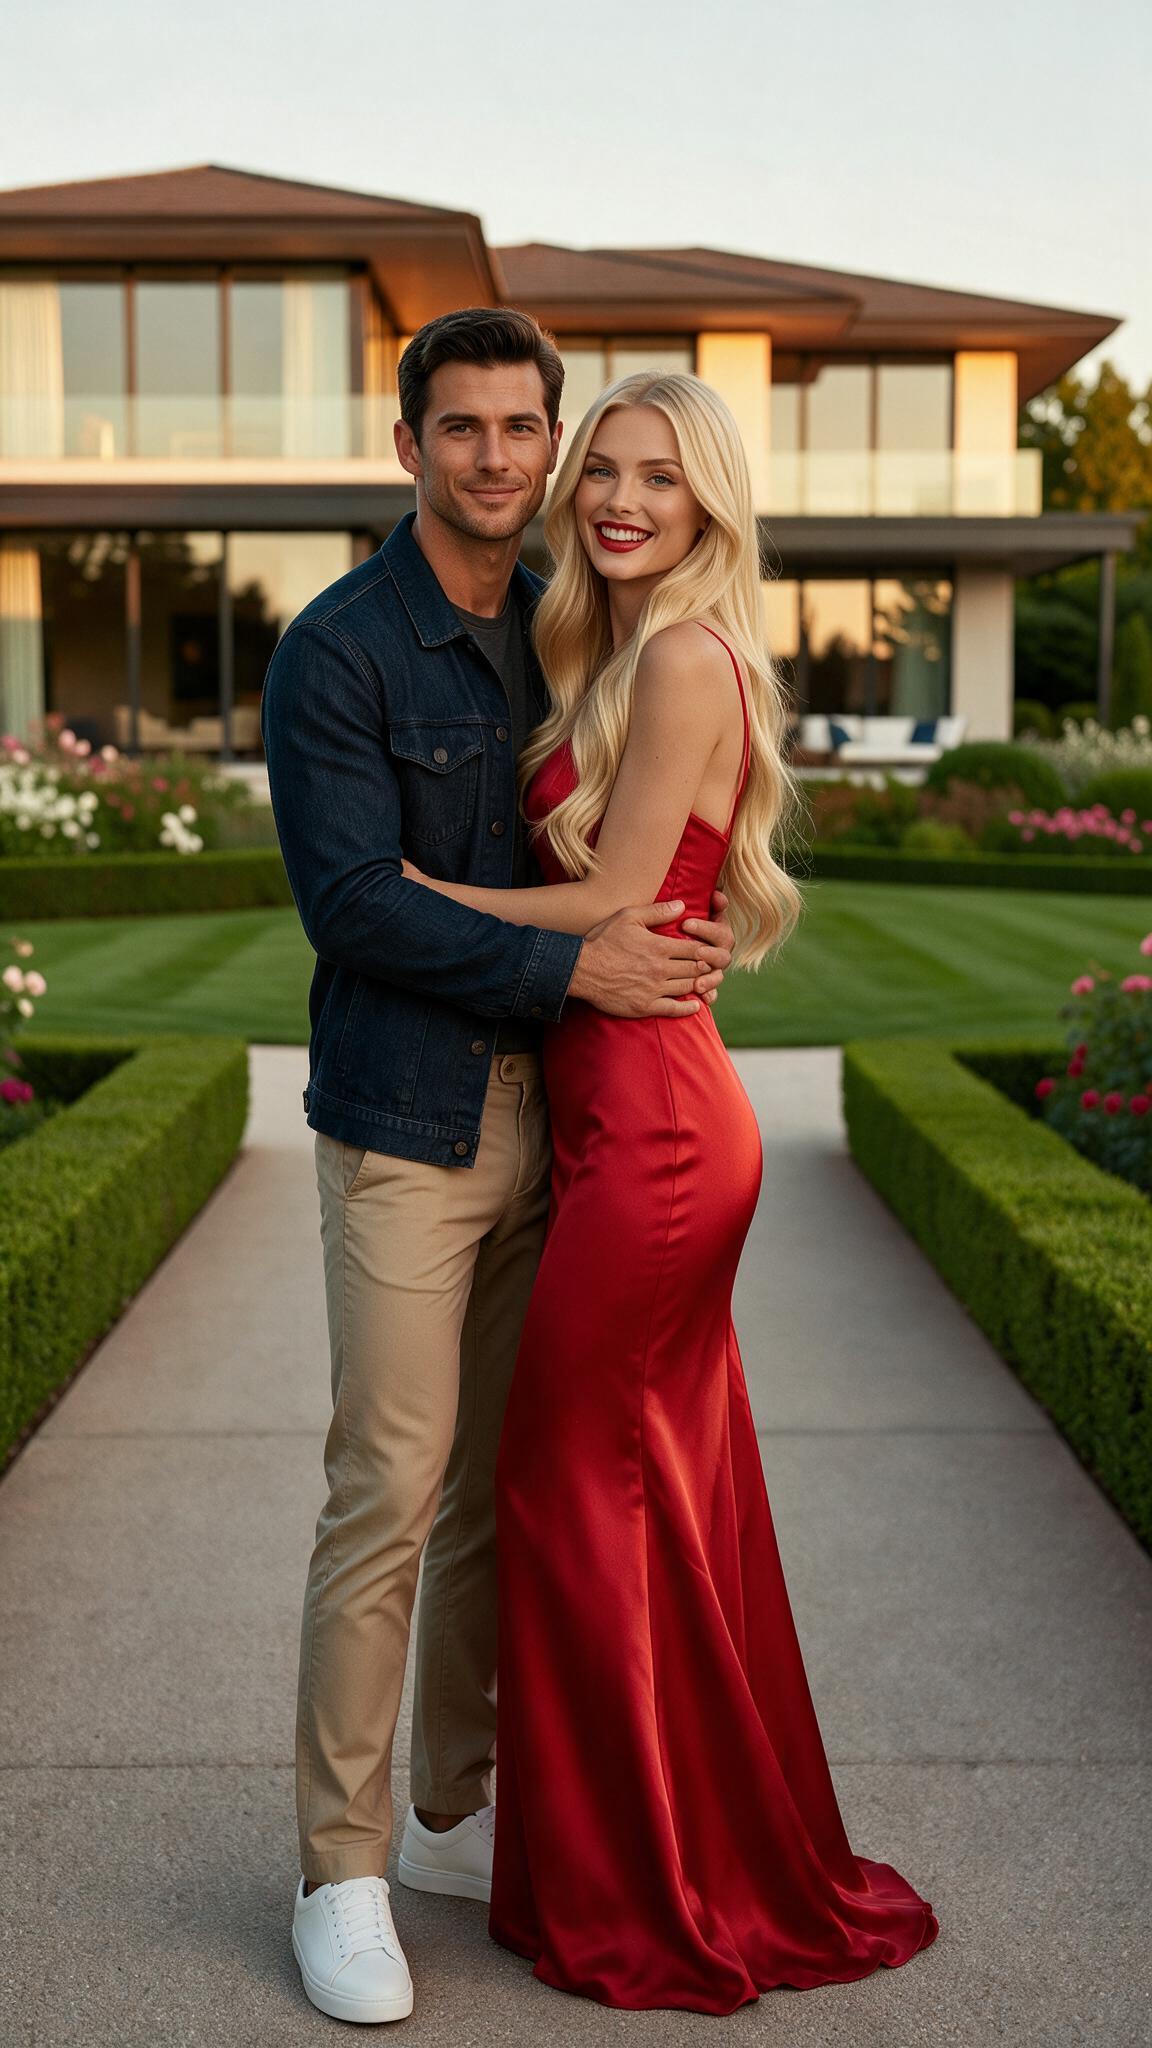
Do not ask one model to deliver the final complex idea from a single photo. Start with a strong image. Change clothing next. Adjust pose or physical characteristics in another pass. Correct identity and lighting. Animate only when the still works. Then edit, extend, and upscale the selected video. Small, deliberate stages produce more controllable results than one overloaded prompt.
Why progressive creation works
Every generation asks a model to solve a set of visual decisions. A prompt that simultaneously requests a new identity, outfit, pose, location, camera angle, art style, action, and video movement creates competing constraints. Even a powerful model may satisfy the easiest parts and ignore the rest.
Progressive creation turns those constraints into checkpoints. When the outfit succeeds, keep that image. When the pose succeeds, continue from it. If animation fails, retry from the approved still rather than rebuilding the character. You spend credits on isolated improvements and always retain the last successful stage.
Leave Smart Select enabled
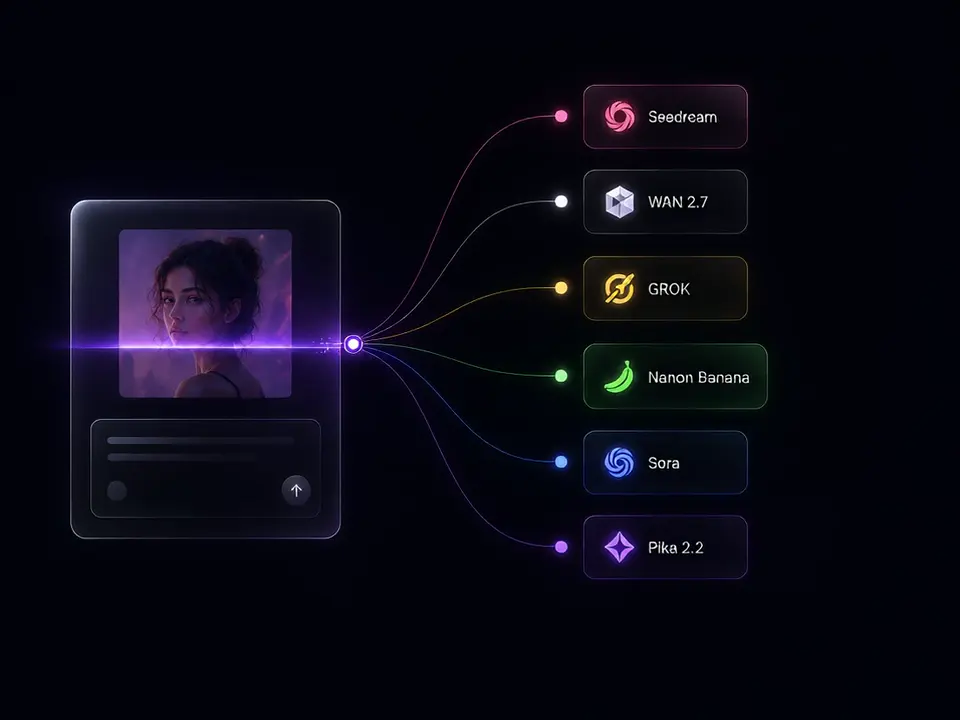
PixOne’s model-selection AI inspects your prompt, active tool, source media, reference images, content requirements, and measured model skills. It scores only compatible models and chooses the best fit for the task. This saves the credits you would otherwise spend comparing unsuitable models and usually gives a stronger first result.
Smart Select evaluates the job before generation so you can focus on the creative decision.
Image tools
1. Edit: change one part of an image
Use Edit for clothing, objects, backgrounds, pose, physical details, lighting, or style. The source image remains the visual anchor, while your prompt describes the difference. Focused prompts preserve more of what already works.
Compose blends a selected canvas with up to four references. Give each reference a clear job—identity, outfit, product, environment, or style—and describe the final scene. It is the best tool when words alone cannot specify the exact visual ingredients.
Animate converts one selected image into video. Describe movement, timing, and camera behavior rather than repeating appearance. You can add an optional end frame when the clip must finish on a specific image.
4. Scene from Refs: generate video from several images
Scene from Refs creates a new moving composition from character, object, environment, and style references. Assign roles, describe one coherent action, and keep every important subject spatially distinct.
Motion Transfer applies movement from a driving video to a still character. It is ideal for dance, gestures, exercise, and choreography that would be difficult to specify with text. Match source framing to the visible body movement.
Edit Video changes clothing, color, style, environment, or effects while following the source motion. Describe only the delta. One major transformation per pass is more stable across frames.
Extend Video adds more time to the end of a clip. Leave the prompt empty for a natural continuation or describe one next action. Continue existing movement direction and review the join carefully.
Upscale improves the resolution and apparent detail of the final video. Use it after all creative decisions are complete. It enhances a good clip but cannot repair wrong motion, identity, or composition.
Choose or generate the strongest starting image. Favor clear identity, useful framing, and a coherent scene.
Use Compose only when you need exact visual references. Establish people, clothing, products, or style.
Use Edit for focused corrections. Change wardrobe, pose, body details, background, and lighting in separate passes.
Animate the approved still. Start with one readable action and one camera instruction.
Edit or extend only the best video. Review the complete timeline after each stage.
Upscale once at the end. Spend finishing credits on the result you will actually export.
How to write better prompts across every tool
Describe visible outcomes. Say what the result must contain, not how the AI should think.
Use one primary request. Secondary constraints should support it rather than compete with it.
Do not narrate the source. PixOne sends the source and references to the model.
Name reference roles. Explain which image contributes identity, clothing, object, environment, or style.
For video, describe motion. Include action, tempo, and camera behavior.
Iterate from success. A good intermediate result is an asset, not a failed attempt at the final image.
Frequently asked questions
What is the best PixOne tool for beginners?
Start with Edit on a clear image. Make one visible change, keep Smart Select enabled, and continue from the best result before trying Compose or video tools.
Why should I create progressively?
Breaking a complex idea into image creation, focused edits, composition, animation, and finishing gives each model a smaller job and preserves successful intermediate results.
Should I leave Smart Select enabled?
Yes for most work. Smart Select analyzes the prompt, tool, media, and measured model capabilities to choose a compatible model with a strong quality and credit-cost fit.
When should I upscale a video?
Upscale only after animation, editing, and extension are complete and you have chosen the final clip.
Prøv gratis — 75 kreditter ved registrering
Generer bilder og videoer med 80+ modeller. Smart Select velger og konfigurerer den rette one for prompten din. Ingen kredittkort kreves for å starte.