AI Head Swap Guide: Transfer Face, Hair, and Style
Use AI Head Swap to transfer a complete head—including face, hair color, and hairstyle—while preserving the destination body and scene.
PixOne Team6 min read
Head Swap is the right choice when identity depends on more than facial features. It transfers the face, hair color, hairline, and hairstyle from a reference while keeping the destination body, pose, wardrobe, and background.
The creator rule that improves almost every result
Lock the body, wardrobe, pose, and background first. Swap the head next, correct small integration issues with Edit, and animate only after the still image reads as one coherent photograph.
What is AI head swapping?
AI head swapping replaces the complete visible head region. Compared with Face Swap, it has a larger transformation area and therefore benefits from references with clear hair boundaries and a compatible camera angle.
When to use it
Transferring a complete character identity, including hairstyle.
Replacing an unsuitable generated head while keeping a successful body and scene.
Creating variants of the same composition with different characters.
How to use AI head swapping in PixOne
Select the destination. Choose the image with the body, pose, clothing, and scene you want to retain.
Choose Head Swap. PixOne opens a dedicated Head reference slot and removes the unnecessary prompt field.
Add a complete head reference. Use an image that clearly shows face shape, hairline, hair volume, and hairstyle.
Generate and inspect the transition. Check the neck, jaw, hair edges, and lighting—not only the face.
Use Edit for finishing touches. Small color or lighting corrections are easier after the identity transfer succeeds.
See it in action
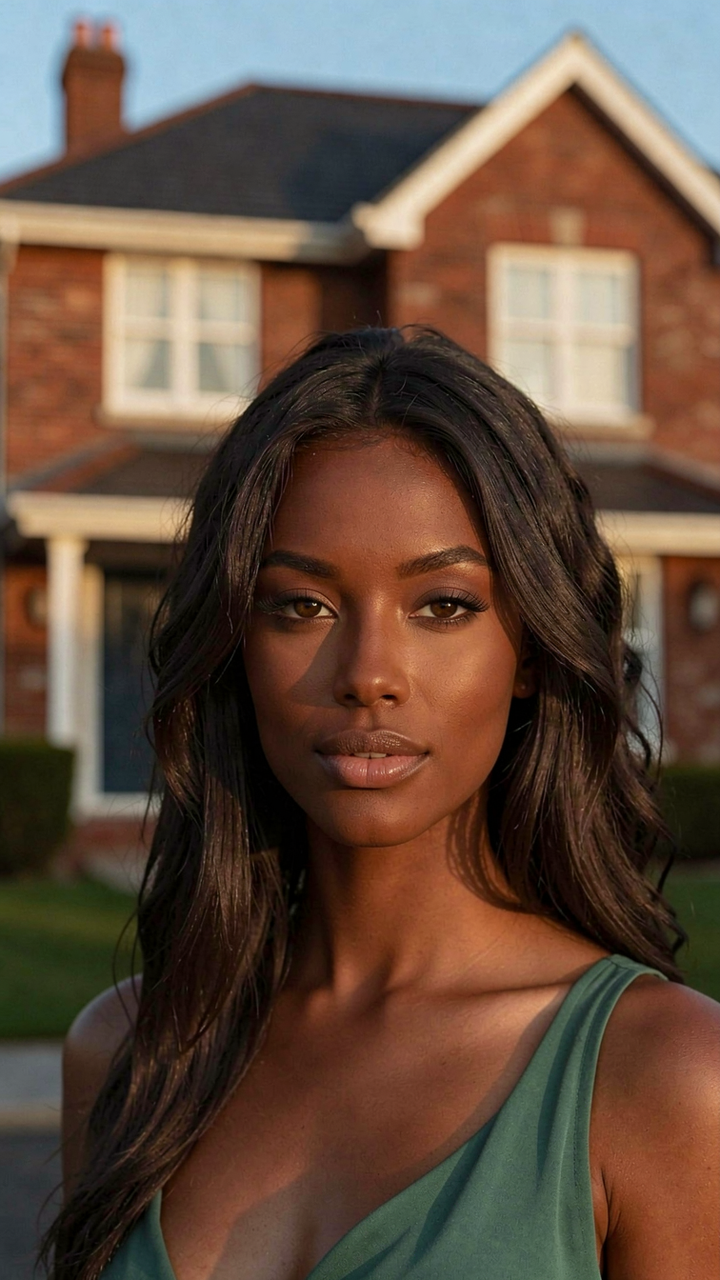
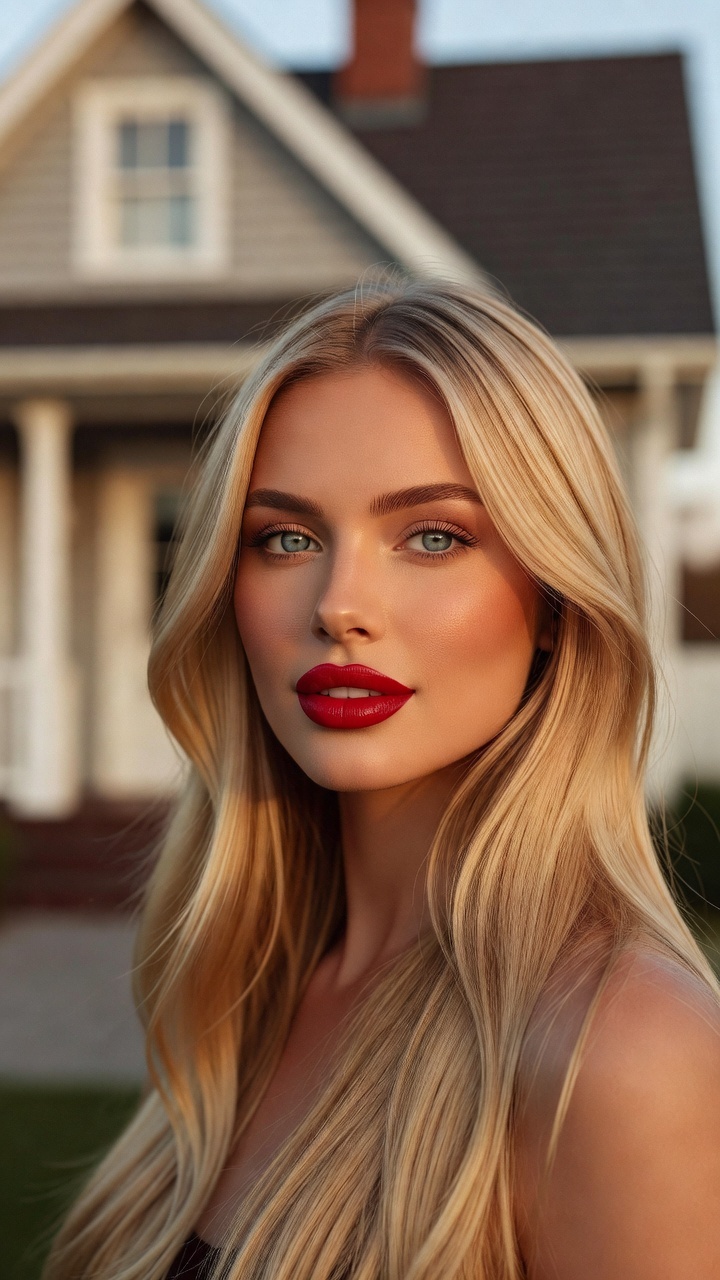
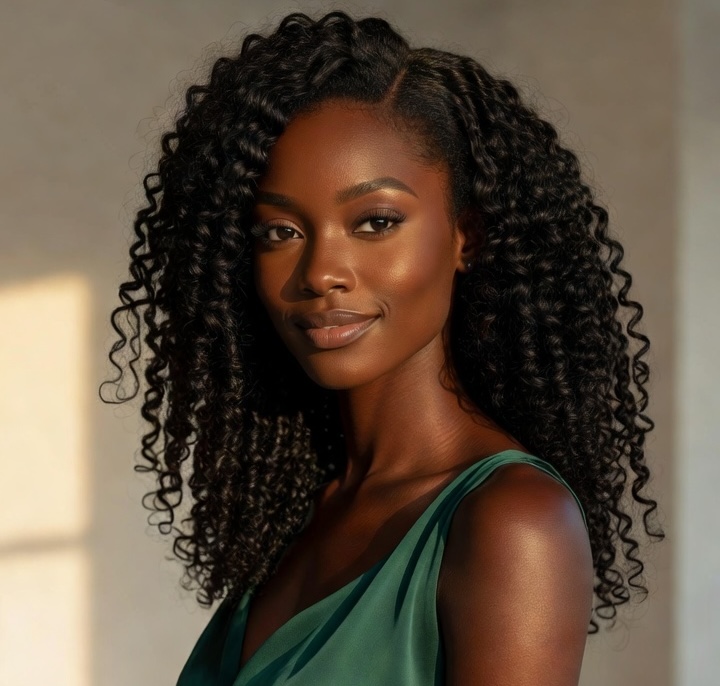
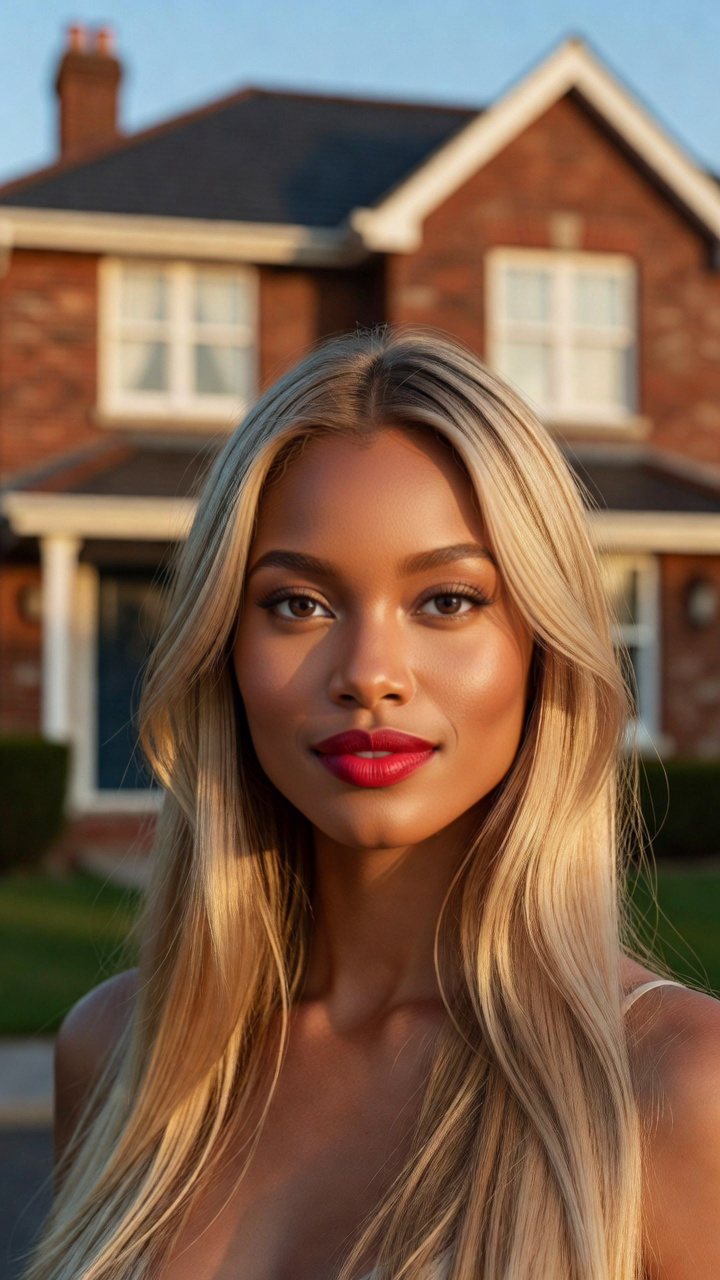
Input: destination imageInput: head referenceOutput: the swapped result
Tips for better results
Match the reference and destination head angles as closely as possible.
Prefer references with the full hairstyle visible rather than tightly cropped selfies.
Choose similar lighting direction to reduce seams around hair and neck.
Keep the destination resolution high enough to show facial and hair detail.
Common mistakes to avoid
Using Head Swap when the original hair should remain unchanged.
Cropping away the top or sides of the reference hairstyle.
Judging only facial similarity while ignoring neck alignment and hair edges.
Keep Smart Select enabled
Smart Select reads your prompt, the active tool, and attached media, then scores compatible models for the exact job. It usually saves credits by avoiding models that are a poor fit while improving the chance of a useful first result.
Continue your workflow
Build the result in stages instead of forcing every decision into one generation: