AI Face Swap Guide: Get Natural, Consistent Results
Learn how to swap a face into a photo with better alignment, lighting, expression, and identity consistency using PixOne Face Swap.
PixOne Team6 min read
A convincing face swap depends more on input compatibility than on prompt writing. PixOne Face Swap has a fixed two-image workflow: the selected canvas supplies the body and scene, while the Face slot supplies the new facial identity.
The creator rule that improves almost every result
First create or compose the scene and body you want. Run Face Swap only after the destination image is stable. Make cosmetic or lighting adjustments afterward with Edit, then animate the approved still.
What is AI face swapping?
AI face swapping replaces the facial region of a person while retaining the canvas pose, hair, clothing, body, background, and composition. It is different from Head Swap, which transfers both face and hair.
When to use it
Replacing facial identity while keeping the original hairstyle and body.
Creating consistent portraits of a character across different scenes.
Correcting a face after a successful composition or image edit.
How to use AI face swapping in PixOne
Select the destination image. Choose the canvas whose pose, hair, clothing, and environment you want to keep.
Choose Face Swap. The prompt field disappears because this tool uses fixed visual roles.
Add the face reference. Tap the plus button and choose a clear photo of the identity to transfer.
Generate. PixOne sends the destination and face reference in their correct roles.
Refine only if needed. Use Edit afterward for small lighting, skin-tone, or expression adjustments.
See it in action
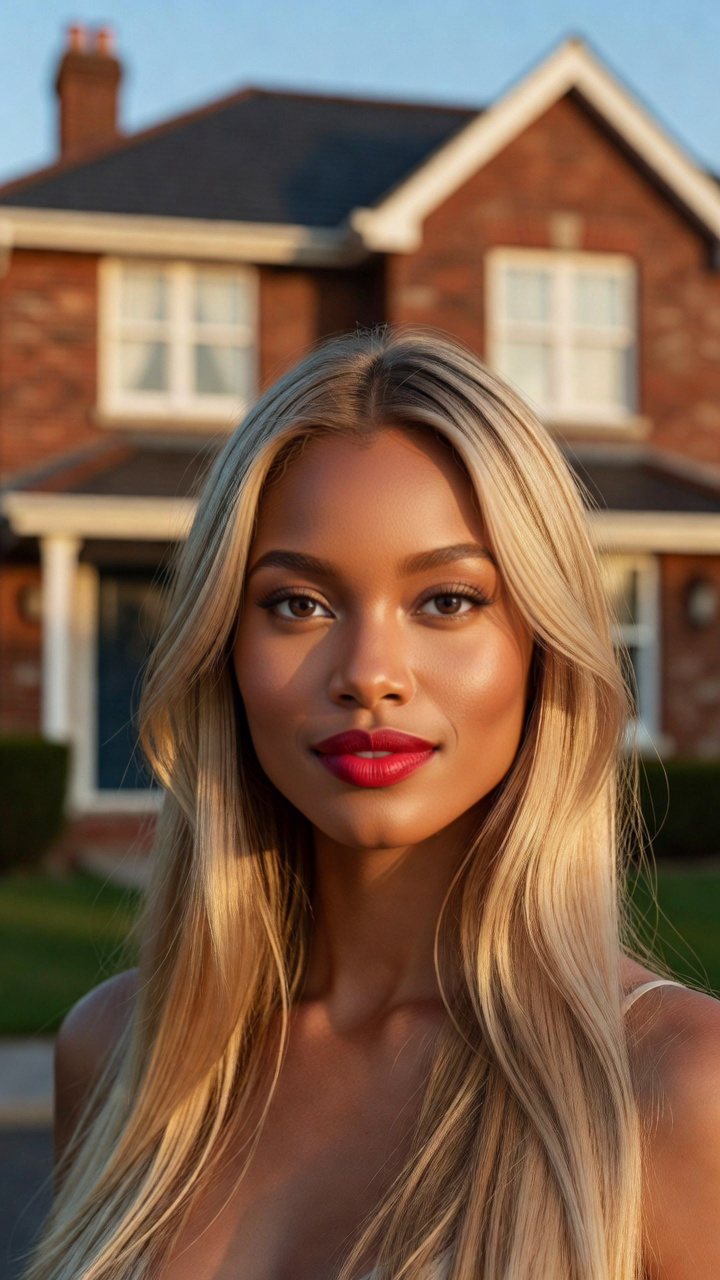
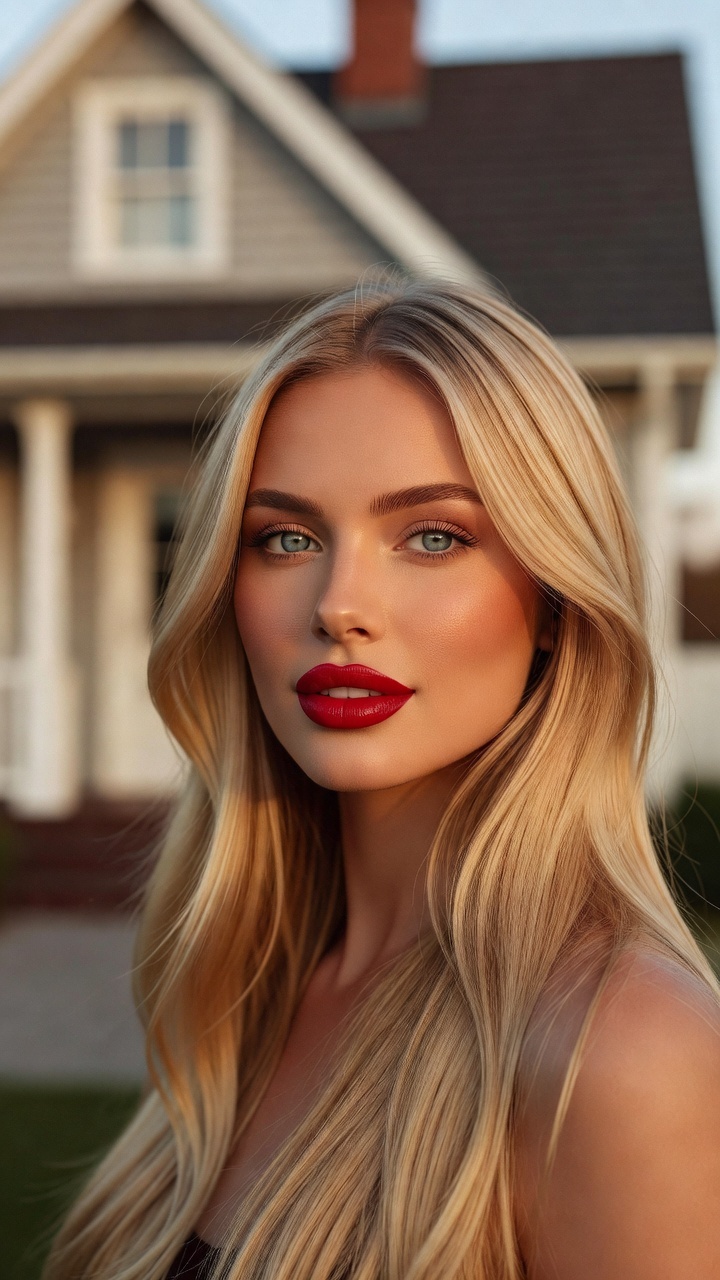
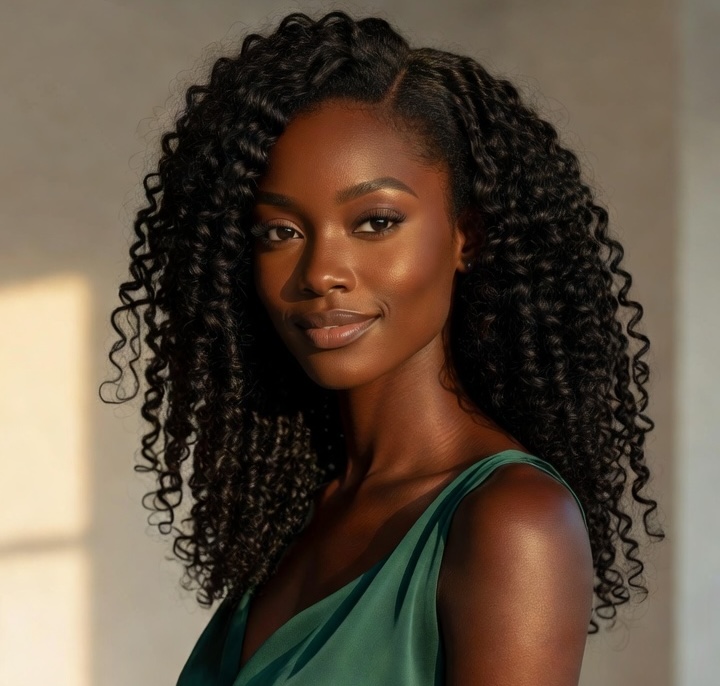
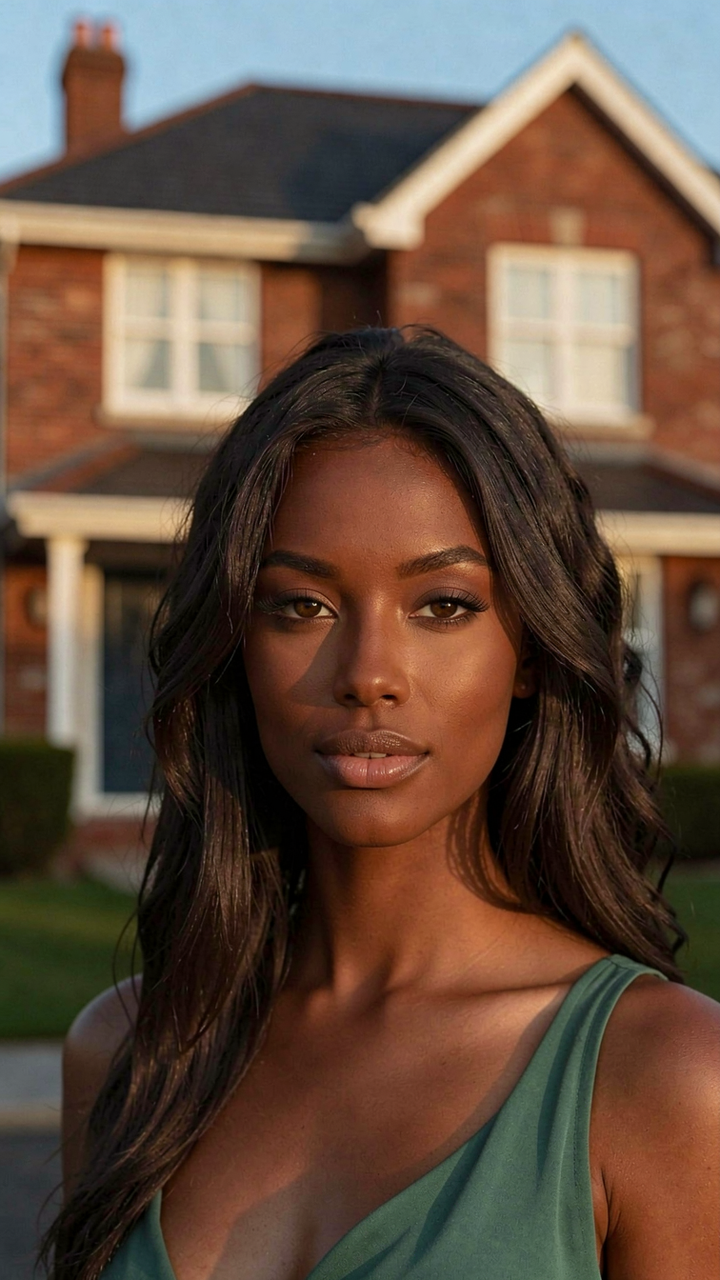
Input: destination imageInput: face referenceOutput: the swapped result
Tips for better results
Use a sharp reference with the eyes, nose, jaw, and mouth fully visible.
Choose a reference with a similar head angle to the destination when possible.
Avoid extreme beauty filters, heavy makeup, sunglasses, hands over the face, and severe motion blur.
If lighting differs dramatically, fix lighting in a separate Edit step afterward.
Common mistakes to avoid
Using Face Swap when you also want to transfer hair; use Head Swap instead.
Using a tiny group photo as the identity reference.
Expecting the face reference to change clothing, pose, or body shape.
Keep Smart Select enabled
Smart Select reads your prompt, the active tool, and attached media, then scores compatible models for the exact job. It usually saves credits by avoiding models that are a poor fit while improving the chance of a useful first result.
Continue your workflow
Build the result in stages instead of forcing every decision into one generation: